Need advice about fiberglass repair
Need advice about fiberglass repair
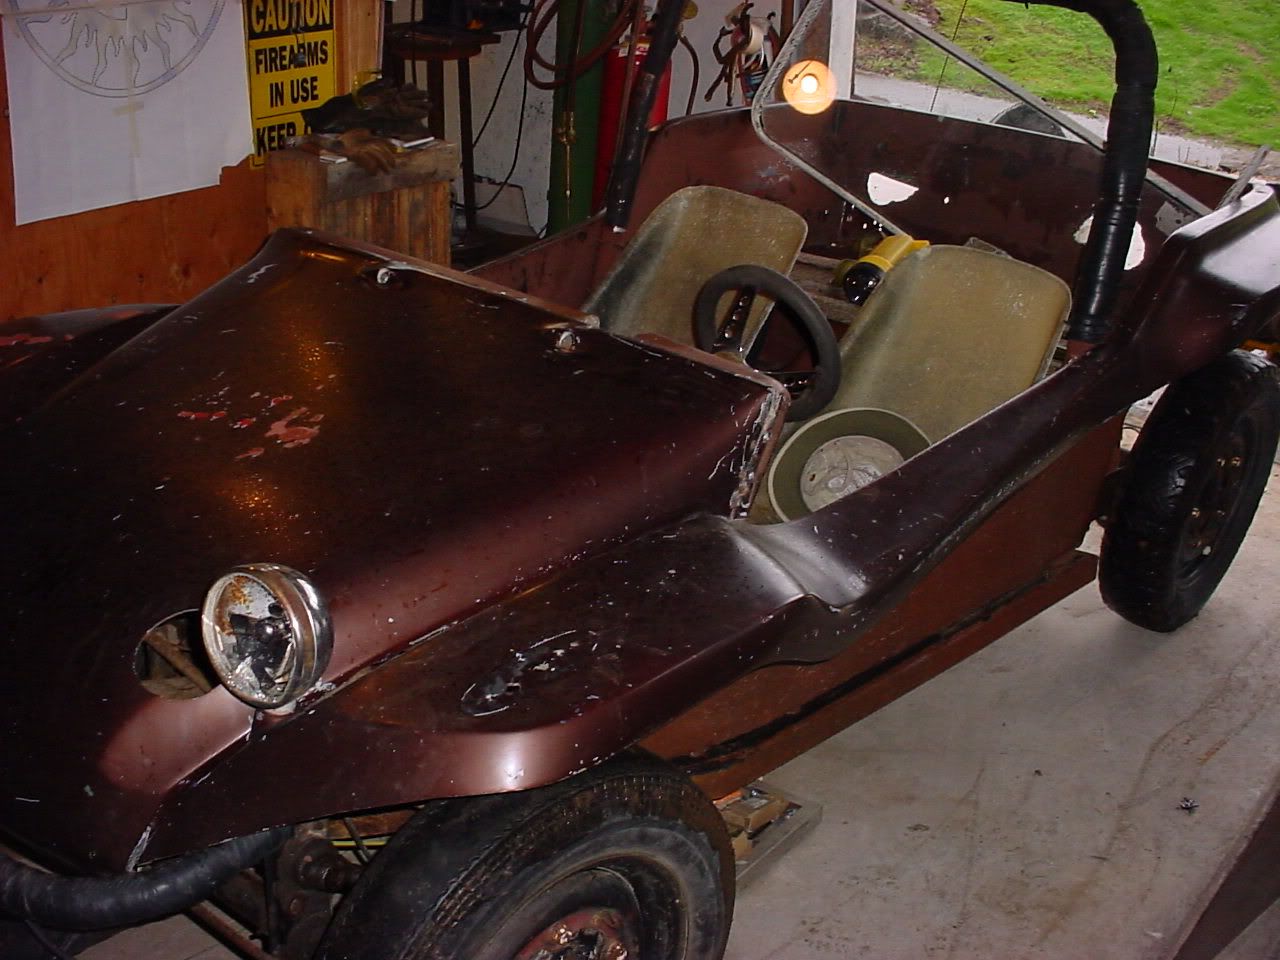
I was thinking about taking the body into a fiberglass shop and having them hose down the underside with a chop gun to fill in the holes. The front shocks poked through the glass, looks like the motor wore some holes in the back seat area, rear tires rubbed a hole too. Plus the usual "extra holes" everywhere. My thinking is that it would look less like a repair from the underside, and if the next owner wanted to put a cherry paint job , they would have something to work with. Has anyone ever done it this way??Or am I insane like usual????(this is the one from Spokane I bought off the Samba)
My first try at patching fiberglass the temp was about 90 and by the time I went from the mixing area to the buggy the resin was beginning to gel. Since then I have become a little more proficient at it. It's called trial and error. 60 grit paper will smooth out a lot of nasty bumps. I covered the holes with a backing such as cardboard, metal or hard plastic and put on a coating of vaseline to the backing and put on a couple layers of fiberglass mat and resin. I have probably spent $100 on materials. Usually getting a shop to do anything these days is very pricey. I'm going low budget not show quality.
-
croakintowd
- Posts: 78
- Joined: Tue Jan 17, 2012 6:00 am
- Location: Frogbutt. CA.
Do it!
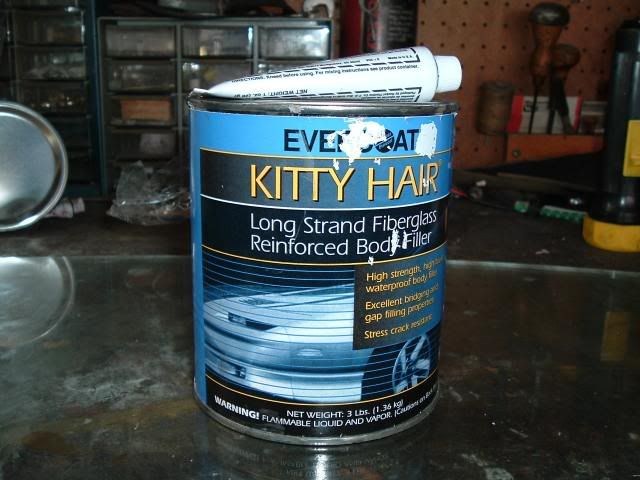
Hello FUBAR, I had never worked with F/G (Other than a old surfboard in high school). I ended up with a car full of holes. So, I set about to learn everything I could about fiberglass repair. Most of the web sites dealt with boat repair. Those sites seemed to be technical, and daunting. I finally decided to give it a whirl, and found that fiberglass repair is was easier than it "reads". I found that if you clean things up, bevel the edges, apply the Fiberglass mat and resins 1with any level of care, things turn out OK. If the hole is large, you may have to back things up with a piece of wood, a piece of pipe, or some duct tape. I found that using wax paper between the backing and repair material makes it come apart easier. There are also cans of fiberglass repair that haveglass fibers in them. There's some with long fibers in the mix, and some with short strands. Different strokes for different repairs. These things make repairs a LOT easier. You just clean, bevel, slap in the putty, sand it, and proceed with primer and paint. I was most definitely not adept at Fibereglass repair, when I decided to give it a whirl. I can assure you, you can do it. It's easierto do than you think. As far as the chopper gun goes, I'll bet you can fix your whole buggy a lot cheaper than they'll shoot it for you. Lastly, use the "Mat" fabric, not the "cloth". I don't know why, it was suggested to me, and it seems to work just fine. You can probably fake the chopper gun look, by poking at the repair with a disposable paint brush 'til it sets. I am not an expert by any stretch of the imagination, but I would not hesitate to repair my buggy again. Good luck,
I too ended up with a body full of holes, tears, crushed areas, and was able to satisfactorily repair them. Also used wood as backing, you can even hold it in place with screws thru the surrounding fiberglass, and fill those holes later. The matting as opposed to the cloth is easier because you can easily work air bubbles out, as well as shape to surrounding area. I found that a dabbing, pushing with the end of the brush, worked well at saturating the matting and working the air bubbles out without pulling at the matting. You can buy a powder thickener that can be added to resin for filling gouges, small holes, leveling surfaces, you use this with a plastic spreader. My best advice would be to make sure you use disposable gloves when applying, and a mask, disposable painters hood, long sleeves, and disposable gloves when sanding. This stuff will get in your skin and itch like crazy! Oh, yeah. I also was going for cheap, but when it was finally painted, most of it looked so good, that I wished I had spent a little more time on those questionable areas. Paint the underside of the body black, and no one will know you patched it up. Good luck, and happy itching!
I made small batches at a time so that if it didn't work out there wasn't too much waste. Fiberglass is easiest to work with at room temperature. Colder- more hardener, warmer- less hardener. My kit came with instructions to use 14 drops hardener to each ounce. I found that I was using about half that. Trial and error worked for me. Cloth has a tight mesh. Fiberglass mat is loose. The cloth will be harder to saturate and you may have a problem with layers peeling off. The mat is easy to saturate and individual hairs will come off it. Tearing it instead of cutting will help to feather out the edges. Cleaning surfaces with acetone is very important to get good adhesion. I am a still very much a rookie at this but this has been my experience.
-
croakintowd
- Posts: 78
- Joined: Tue Jan 17, 2012 6:00 am
- Location: Frogbutt. CA.
Mat / Cloth
The cloth is woven with the weaving done at right angles. If you have an area that requires the cloth to have to conform to a couple of different angles, you may end up with a little "mountain" of cloth that had no where to go. Cloth has other purposes, but this is the one thing I noticed relative to buggy repair. The mat is non-directional. You can persuade it to follow different contours. Here's another thing I learned. Try not to use Laminating Resin. I don't think it sets up hard. It stays tacky. I guess this is so your next coat adheres better (?). I don't really know, but it never would work as good for me. There are instructions on the can of resin relative to the ratio of resin to catalyst. It'll tell you how many drops of catalyst to add to a measured amount of resin. I used disposable cups and disposable brushes. Using water, I measured out an amount of material I thought I could use, into one of the cups. I made a note of the level, and then used the equivelant amount of resin. Knowing how much resin, told me how much catalyst. I had no trouble with it going off. You can do it. Like someone said, when you sand this stuff, it'll get you itching. Cover up what you don't wanna scratch. Go for it!
Bruce has published a good basic info article about fibreglassing in Manx Mania Vol 2 #1. I used it as my starting point and went from there. You must sand back with a very rough disc on a small angle grinder at least 4 inches around the edges of the hole, tapering to the edge so that all there is at the edge is the gel coat. Make forms of thin cardboard, sheet lead, masking tape. I found that if I covered the form with masking tape the resin did not stick to the form. Wear overalls, gloves, scarf, mask, ear muffs, hat and goggles to keep the fibreglass dust away from you, otherwise you will suffer from itchyskinosis for days afterwards. I use disposable paper coveralls. Do it outside in windy conditions and make sure that the washing is not on the line or you will be in big trouble from the whole family. I mix up no more than 100ml (about 1/6 of a pint) at a time. It's easy to make more as you go. I don't touch the job until the next day. If you need to add to a job that has set, you must sand it back to fresh fibreglass or the next layer will not stick to it. Fibreglass has a slightly oily surface and even old fibreglass must be sanded back. Get one of those little grooved rollers to get the air out of the job. They are essential for a good strong job. Don't work the resin too much. You want the matting in the middle of the resin not at the bottom with a lot of resin on top. It's a bit like pouring concrete with reo bar in it. Work it until it's just right and then leave it alone. Generally mat is use for filling holes and making big thick layers. Cloth has very high tear strength so it is used where there is tearing in the material. It's easier to fit cloth between two layers of matt. Start with the small holes and work up to the big jobs with the complex shapes. Good luck and remember no matter what you do to protect yourself from the dust you will suffer from itchyskinosis.
-
allen pierce
- Posts: 228
- Joined: Mon Mar 14, 2005 9:00 pm
Thanks for ALL the info. I took the body off today, it does not look that bad. All the damage is on the parts of the tub that are not the finish surface, so if my repair looks a little lumpy I guess it will not show up on the painted area. I plan to raise the body up about 2.5" for better clearance.. .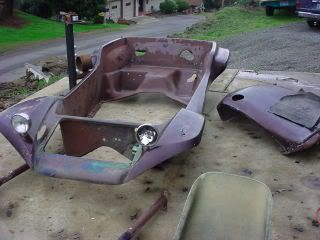
I have learned that fiberglass is very forgiving - I am a klutz at leveling out the top coat, but the hole work was really easy. I bought a gallon of black gel coat and some wide weave matting from the local boat repair shop. Waited for a good hot day and then mixed up the gel and got started... Mine looked just about like yours when I started.... after patching the holes.... Then after the high build filler / sanding