Since mot of the action and drama items are done, not a lot to show for the last week worth of work. Just sanding, spot filling, sanding, spot filling, sanding..............my arms are tired.
A few pictures are interesting, others are, well, you decide.
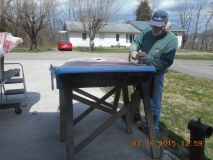
Initially I use a DA Sander with 80 grit pads to prep a body. Knock the slick finish off of the gell coat and to rough in the fiberglass repairs. Never Ever go across a body line or corner with a powered sander. You will loose the smooth radius of the edge and it is a PITA to re-establish. Corners and edges are hand sand only.
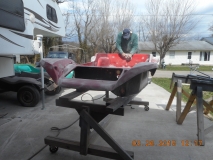
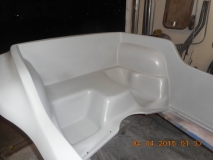
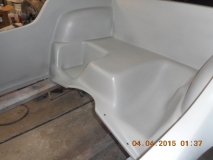
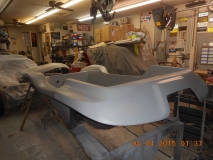
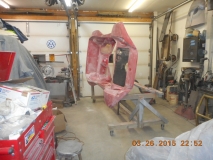
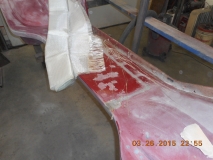
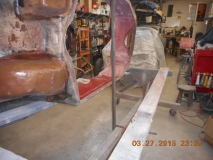
It is handy to flip the body to gain easy access to the insides where the doors have been repaired.
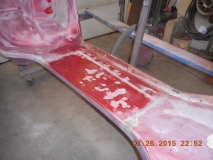
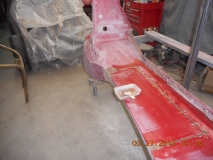
I ground the repair seam of the tiny voids down to a shallow "V" groove.
I have this 20 ounce Roving fiberglass cloth that is for use in serious repairs for strength. It is also handy to pull the individual strands out of for thin repairs, like filing a long Vee groove.
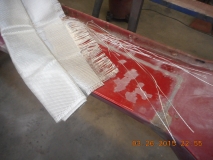
Pre-cut to length and sort out to be ready once the resin is mixed.
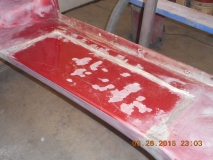
And glassed in. Although I could have mixed up a batch of Cabosil to fill it, it would not have had the strength that filling it with stranded glass will give. And resin alone is not the way to do it. Typical to my repairs, I over build it so the repair can be ground/sanded back close to original profile.
Roughly ground down and ready for finish filling and sanding.

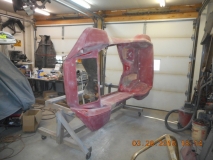
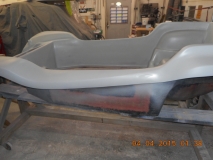
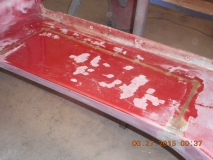
On to other surfaces for filling the nit picky voids and areas. And more sanding.
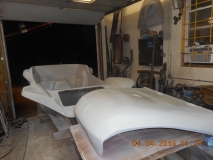
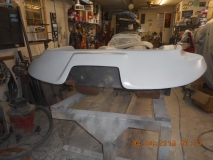
Sprayed some Slick Sand Polyester primer surfacer. The Polyester is catalyzed using the same material as the resin, and set up nicely. Really nice to work for filling in those very slight imperfections and shallows.
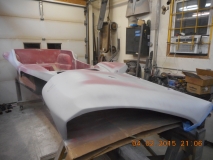
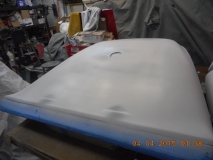
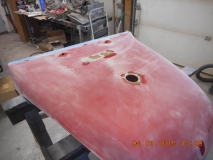
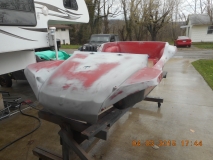
The body and hood block sanded, again, washed and dried awaiting the rain to pass for a full coat over the hood and body.
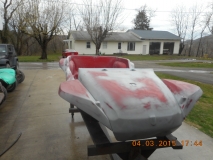
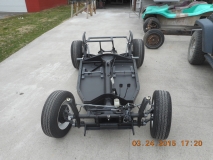
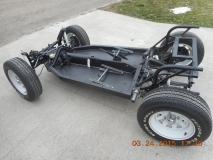
With some prodding and coaxing, I was talked into finishing the project, well, to make it a finished roller. Brian will still have a lot to do to it to make a full buggy. But, while the body is separated from the chassis, continue and give Loretta a final top coating. The original finish was 10E Brilliant Red Metal Flake. Brian wants to remain true to the origin of the buggy body and return it mostly to the original look with a couple subtle upgrades.
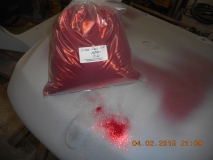
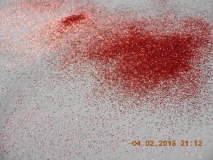
So, Meadowbrook Inventions, Inc. was called upon to supply the 10P Brilliant Red Metal Flake. The "P" stands for Polyester Flake instead of Metal flake. It is the newest technology. Looks the same in the final form.
10 pounds of 0.008 10P Red arrived yesterday. The Lazer Red base coat arrived today, and if weather permits, the hood may get sprayed this weekend.